Showing posts with label Yarn. Show all posts

Thursday, 27 March 2014

A is for Attempt...

A is for Attempt
B is for Brave
C is for Colour.

This is my motto this week. I am scared by bold colours. I go from blog to blog and see so many gorgeous makes with so many bright and bold colours and when I go to my mountainous yarn storage I can never quite find the right green, the perfect shade of pink etc...
I have decided though that I can have no more excuses and I have to just bite the bullet and what will be will be. I need to get on the colour train!

So, I apprehensively and thoughtfully picked out the colours I am going to use for a new project. My Summer Patchwork Throw.
I deliberated for aaaaaages, I kept putting colours back, picking them up, putting them back until my basket was full. I am still not happy with them, especially the yellow, but we will see what it looks like when complete.


I think adding the red was fine but maybe not next to the yellow. I am not going to undo it now as I need to be braver. I need to stop being afraid of colour and recognise that the only way to master it is to practise and be bolder.

This is where I am up to. I have gone for large granny squares on a 4mm hook. I LOVE granny squares and as this throw is for me I wanted it to work up quickly, be very easy as I want it large enough to fill my bed. Fingers crossed it will have a nice patchwork feel to it.
I was so pleased that in less than 4hrs I managed to get the first row of squares finished(only another 9 to go!)
I think that was only because the children were taken swimming and were all gone until early evening.

Later on last night(around 10pm) I decided that I wanted to start something else...this is a curse for many crafters out there I know. Something I hadn't done before...A shawl. After seeing so many beautiful ones around blogland and on Pinterest I really felt inspired and my fingers were itching.
A the beginning of last year I did my usually trick of seeing pretty yarn and impulse buying, this is a really bad habit of mine. I saw this yarn on a totally unrelated shopping trip to John Lewis. I got distracted from Grandparent present buying and ended up, as I so often do, in the haberdashery section. I loved the soft feel of the balls and the stunning warm but lifting colours.
It is Rowan Kid Classic, a mixture of lambs wool and kid mohair, so you can imagine how lovely and soft and natural it feels.
Problem with it was, when I got home and looked at it some more and felt it and cuddled it, I had absolutely no idea what to make with it. It isn't the right weight for a blanket or cushion and I was in no way attempting clothing, so it got put away, out of site and I gave myself a smack on the hand for once again jumping head first into an unnecessary purchase.
Last night however, it became the PERFECT yarn for my shawl.

It says to use 5.5mm hooks...it has a weight more of a 4ply than a dk so I can only assume the large hook recommendation is to get a really lacy look.
I didn't want a lacy look. I want a light but warm shawl so I opted for 3.5mm and so far it is really working out well.

I have gone for a very basic granny stripe pattern. It is easy and as most of you know with my constant health moans easy is about all I can manage...
There is a superb tutorial at this lovely blog

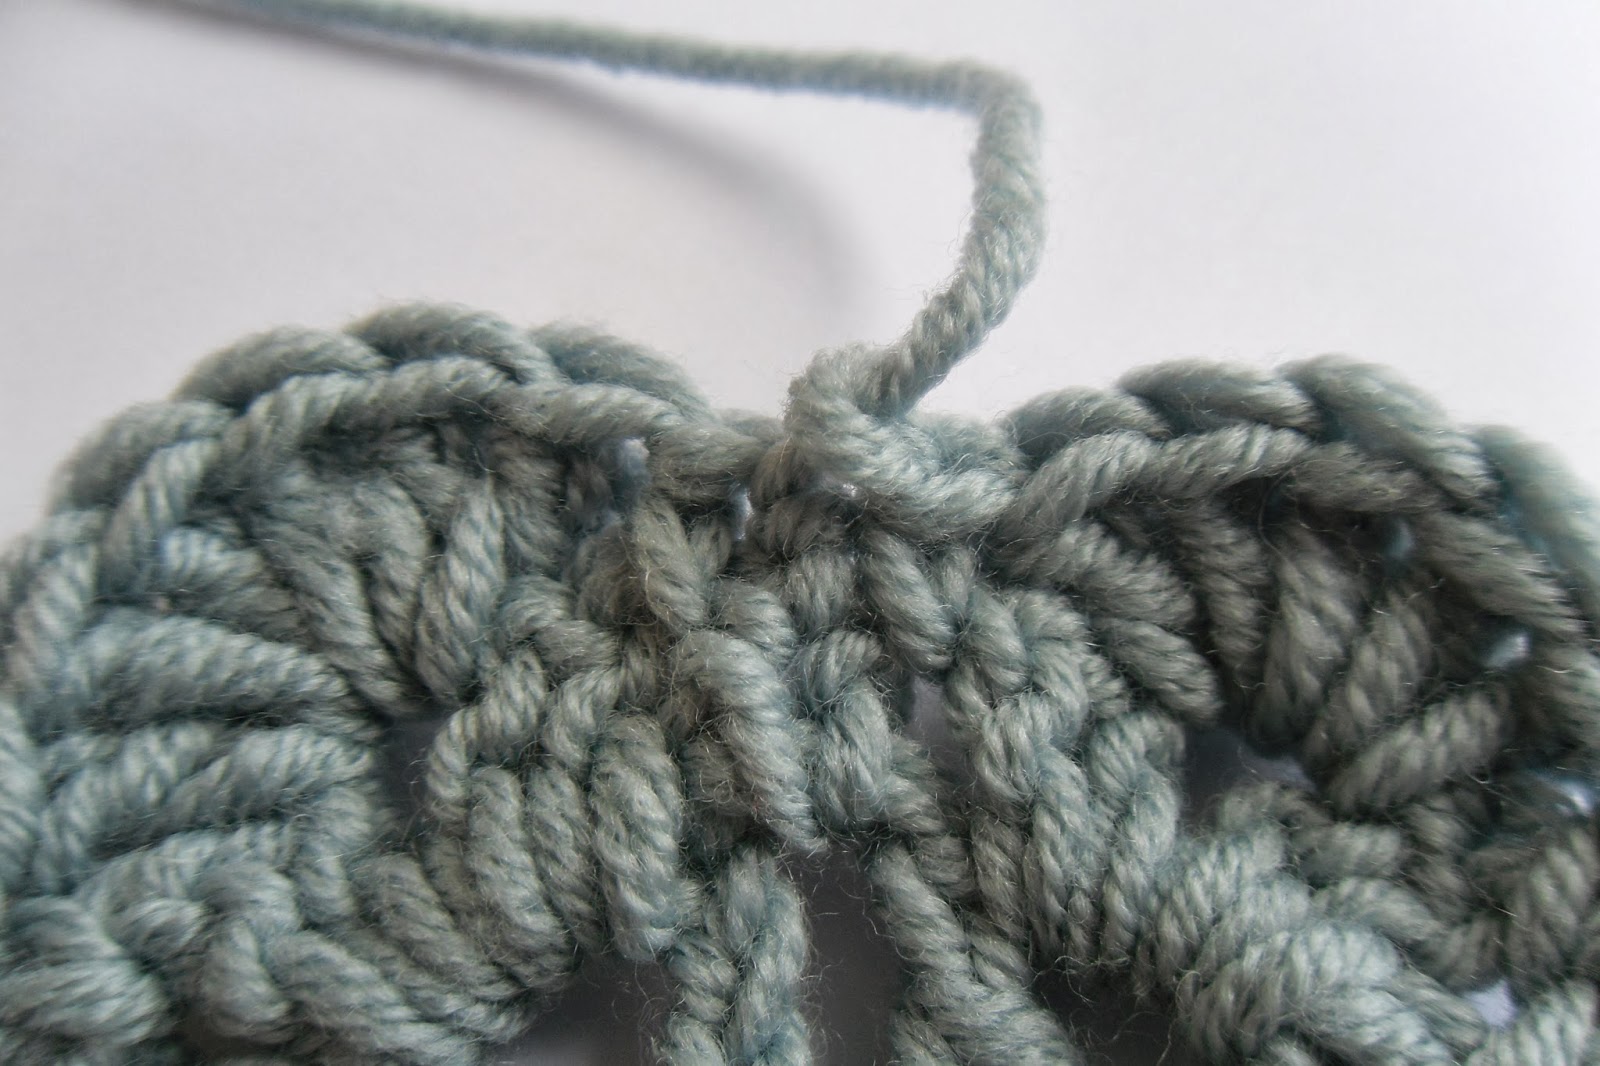
You can see all those natural fibres bursting out. It is so perfect for warmth on Summer nights. 
I have again been quite brave I think with the layout of the colours. I was tempted to mix the light and dark colours but I actually really like the contrast. 
I could be making a huge mistake and kick myself later, but for now I am happily hooking with this sumptuous yarn.
I am hoping to have this finished for a dear friend. Fingers crossed.

What WIPs have you got on the go?

Happy Thursday xx

Friday, 7 March 2014

Fabulous Flat Crochet Flowers...Tutorial...

Hello lovely people. 
Firstly let me say thank you for all your lovely comments regarding our recent furniture endeavours. As I sit here typing I am enjoying the pretty and colourful crafty things that are in the corner of my eye. Goading me to make more and share more, so with that in mind I am going to share another of my little patterns.
You may remember my train journey a while back where I happily watched the countryside whiz past whilst hooking some cute little coasters?
Well I promised on that post that I would share my flat flower pattern.
Flat is important to me...remember the hexagons? Flat crochet items make great embellishments, home decorations, blankets, scarves etc. I love crochet flowers, all of them, but I find sometimes that they are just too fiddly or time consuming, especially when my brain is tired or not functioning to the best of its ability and I need something simple, soothing and pretty. Pretty crochet leads to satisfying crochet.

Before Christmas I was asked to make a flowery scarf from a customer on my FB page. There were no specific instructions so I had free reign over design. I took inspiration from pinterest, but do you think I could find a pattern that satisfied my simplicity? Nope. So in situations like these there is only one solution. Make your own.
As I have said before, we all sit there and work hard creating something we think is unique only later to find that someone else has already done it, so if a wonderful person already has a similar pattern then I promise this is not from anyone elses.

The scarf and wrist warmers made to order.

Can you see how lovely the flowers sit together and piled on top of one another? This is one of my most favouritist patterns and I am so happy to be sharing it with you.

First off. I work in US terms

ST= Stitch
SS= SS UK
CH= CH UK
SC= DC UK
DC= TR UK

I am using Drops Merino for the turotial and a size 4.5mm hook.


You see, it is flat.

To begin magic ring or if you just can't(like me) then ch2.

This shows your first ch.

DC 14 into the first ch. Join to beginning ST as shown.

CH 3+1 (this counts as your first DC, CH1), DC into same ST, CH1

You will have your first V stitch.

*Skip next ST. DC, CH, DC into next stitch* (shown above)
Repeat from * a further 5 times. 7 V stitches.

Join to beginning CH. You have to count up 3CH to find where you are joining your work. I have shown in the photos below how to do this. You have a plait type pattern when you chain and all you have to do is count up.

1 CH

2CH

3CH. Once you have joined, CH1 and turn your work.

This is the space in-between the V stitches.
1SC in this space.

In the V stitch *2DC, CH1, 2DC. SC into CH space* 
You should now have a little petal mountain like above. Repeat from *to* 6 times, but do not SC after the 7th petal.(7 petal mountains)

Instead of SC at the end SS into the first SC stitch. 

This is where we are up to. Isn't it wonderfully flat and perfect for sewing onto that cushion, bag etc? You can leave it here for a smaller flower and/or small coaster(if using as coaster or bunting I advised a little starchy after care. I use spray starch. Pin to a rolled up towel so all is flat and happy and spray starch all over the flower. Leave overnight to dry)

LAST ROUND...

CH1 and turn your work.
SC in the space between the SC(SS for the first one) and the DC.
The needle is where you need to SC, the red hook is the CH space of the petal from previous round. I will quickly run through the pattern again in a second.

In the CH space of the petal mountain DC 5 times.

You then SC in the space between DC of previous round and the SC. The needles are placed where you need to SC.

It is a little blurry but I want you to see where the SC are.
The pattern for this again is
*SC, 5DC into CHsp at top of petal, SC*
Repeat to end

SS into top of first SC.


Cut ends and pull through. Then you just have to sew in your ends.

TA DAHHHH!
A Fabulous, Flat, Crochet Flower!

Now again, I am not little Miss Expert when it comes to patterns or tutorials so please, if you do try this and you have any problems then let me know so I can fix them x

This is what I did with that little flat flower. I needed a good mug of coffee before I sat down to write this. 
Can you see that little crochet hook holder sneaking its way into the photograph? This was a gift made for me by the lovely Jacquie at Bunny Mummy.(Told you I still have it Jacquie) Jacquie and I became blogging friends many moons ago when I had my original blog
I would like to say a huge CONGRATULATIONS to Jacquie as well for your fab piece in Simply Crochet magazine xxx

Happy Friday x


Thursday, 6 March 2014

Busy Bees...

Buzzzzzzzz! 
We have been very busily buzzing here for the last 2 days. After the purchase of new furniture I was so excited I couldn't contain myself.
I looked around and I could see ALL that needed doing, RIGHT NOW!!!
The man rolled his eyes and I made a list.
2 new shelves for the kitchen(not included today as they are still drying)
The bookcase painted...Well whilst the paint is out we may as well re-paint the dresser?!? Makes sense right? This led to more eye rolling, this time followed by a sigh...
Oh definitely all white with the bookcase...3 coats later...No, the shelves would look better light grey...
Hmmmmm well where are we going to put the old bookcase? I know, you can haul ass it up the stairs and somehow make it fit into a space that is a fraction too small...you can do that right?
No eye rolling just a slow turn, shake of head and walk out of the room.
The man can be sooo dramatic at times!!!

Anyway even with all the dramatics from the man we managed to accomplish quite a lot.

The new table. We are not touching it atm. It goes nicely with the chairs and I want to be certain about what I want before we change it.
It is a bit battered and unloved but that will change. I love that it has a handy cupboard running through the centre :) It is perfect for all those floating things that somehow accumulate in the lounge.

The tight squeeze. I could hardly get a picture because our hallway isn't much wider than this! There are a few books at the bottom but I really think I am going to have to think of more suitable names for things. This is a Yarncase!


 This is the new addition. You can just see the contrast of the light grey. It looks so much better than what we had before and it is so bright. All the colours now look so cheerful and lovely. 
This is a Craftcase hehe!

Beautiful bright colours. I can't wait to add a finishing touch to this case. I think these colours are a little inspirational.

The two darker chairs are my bargain buys. Now, I did think I had a red tablecloth with white spots but it turns out it got binned somewhere along the line. I was a bit reluctant to use this green one as, at first it looked a little garish, but as I wiped it down and added the place mats, stepped back and looked, then looked again I changed my mind on it. I have to say I love its retro theme it is bringing. I was zoomed back in time to my Grandparents house of the 80s.


This is my dresser. Bought a few years ago. Started off like this. Just bare wood.
Then a little transformation later...
This green looked better in the old house in front of magnolia walls, but I got very tired of it and felt it most definitely needed another transformation. So whilst the paint was out...


TA DAH!
Phew! You can see our efforts have been well worth it. I couldn't be happier right now...Well maybe if I had a different home and everywhere was gleaming, but with children flying around the home and the 2 kitties using everything(including us!) as a scratch post that is a dream.

Happy Thursday xx


Thursday, 27 February 2014

Hexagons...

Remember when I bought some yarn? Well if you don't it was this post. Well I knew I wanted to use the linen for the sofa. Initially it was just going to be for an arm cover but I love the colours so much it wasn't long before I wanted it to be a sofa blanket.

There are a couple of problems I faced though. The first was more of a dilemma that required some internal conversation. What pattern do I want to use? Initially I thought granny stripe as I really want a granny stripe blanket for the sofas but then I thought no, it wouldn't show off the colours. Ripple? no...and so it went on.
Then I had it. Hexagons! It was obvious really. They are something I haven't done and really wanted to try and the individual blocks would show the colours brilliantly.

So I went looking for the right hexagon pattern that would easy and fast(I like simple when it comes to crochet. Too much brain work and it loses its charm).

I really liked the look of Lucys over at the attic.

But there was a little problem with this...
I followed the instructions to the letter(and picture) but they were popping up in the centre. No matter how I played with them I couldn't get them flat. Maybe it was the yarn I am using or maybe it is because I am only using one colour in a hexagon, but whatever it was it wasn't working for me.

After trying these I was getting tired(the pics are dark because it was late at night). I wanted something a lot simpler than all the hexagons I was finding, so I decided I would just make it up as I went along.
Now. The thing with this is, you think you have created a whole new pattern and you are pleased as punch but I bet you a penny it is already out there in some book, on some site, but I haven't found it and so I made it. I am sorry if you are mr/s pattern creator but this is a genuine top of the head moment.
I call it the Flat Wagon Wheel Hexagon...I like short names ;)

TA DAAAH!!!

See how lovely and flat they are? All sitting neatly side by side. I was so happy.
This was as far as I got though as I was too exhausted to continue.

I have been working on it a little here and there, squeezing in these easy, peasy hexagons whenever I can. They are a delight to work up as each one takes less than 10 mins. Can you imagine the possibilities??? 
It is recently I have come to my second snag. Remember at the beginning of the post when I said I wanted a sofa blanket? Scroll up I definitely said it ^^^
Well I need a LOT more yarn to make that happen and at £9 a ball it might be a while...I can see this being a looooong time project, but I am confident that each time I do pick it up I am going to be thrilled to bits :)


These are better pictures showing the colours and textures of this lovely yarn.

I am going to attempt to write a pattern for the Flat Wagon Wheel Hexagon. Please take a gander and let me know what you think. It will be my first pattern and I will probably make a pigs ear of it so I will need tips and tricks...

Hugs Emma x